Setting up CyberPanel on Ubuntu 20
My reminder for installing and setting up CyberPanel on Ubuntu 20.
1) Add new user and allow sudo:
adduser username
usermod -aG sudo username
2) Upload ssh keys from external computer:
ssh-copy-id
3) Restrict access to .authorized_keys file:
sudo chmod 700 -R ~/.ssh
sudo chmod 600 ~/.ssh/authorized_keys
4) Update Ubuntu packages:
sudo apt update && sudo apt upgrade
sudo apt install vim python-is-python3 curl
reboot
5) Restrict ssh access by editing sshd_config.
sudo vi /etc/ssh/sshd_config
- Change the following lines to
PermitRootLogin no PasswordAuthentication no - Now restart ssh service.
sudo service sshd restart
6) Install CyberPanel
sh <(curl https://cyberpanel.net/install.sh || wget -O - https://cyberpanel.net/install.sh)
7) Create new website and add IP address to DNS host.

8) Get SSL certification (e.g. Let’s Encrypt or Cloudflare)
9) Access from https://domain.tld:8090.
For Cloudflare: This does not work behind Cloudflare proxy.
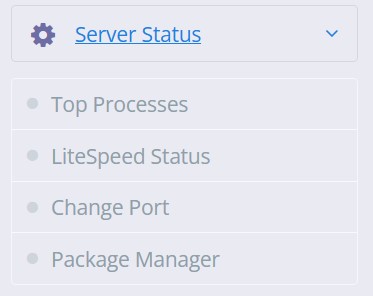
To fix, disable proxy or change CyberPanel port to 8443:

Firewall rules sometimes disappear upon a server restart. If ssh access is lost, access server using console and add firewall rule:
firewall-cmd --zone=public --add-port=22/tcp
Add other ports accordingly, then access CyberPanel configuration and add the firewall rules again.
10) For Cloudflare proxy, we want to log the real visitor IP (instead of Cloudflare IP) (ref 1, 2)
- In OpenLiteSpeed config (default port 7080), under
Server Configuration→General→Settings:Use Client IP in Header: Trusted IP OnlyExample:

